How to Bake Ice Hockey Skates: A Guide to Achieving the Perfect Fit
To bake ice hockey skates, first, remove the footbeds and laces. Then, heat the oven to 175°F and place the skates inside for 10-15 minutes.
Baking skates help mold them to your feet, providing a custom fit that can improve performance and reduce discomfort. Properly baking your ice hockey skates can make a significant difference in your game and overall skating experience. In this guide, we will outline the process of baking ice hockey skates, providing step-by-step instructions to ensure optimal results.
Whether you are a professional hockey player or a recreational skater, understanding how to properly bake your ice hockey skates can greatly enhance your comfort and performance on the ice. Let’s dive into the details of this essential process for any ice hockey enthusiast.
CHOOSING THE RIGHT SKATES
When selecting hockey skates, a player’s skill level is vital to ensure maximum performance and comfort.
DETERMINE THE CORRECT SIZE
- Measure your feet accurately to determine the right size for the hockey skates.
- Make sure there is no pinching or discomfort while wearing the skates.
- Check the sizing chart of the skate brand to match your measurements for a snug fit.
PREPARING THE SKATES
Baking ice hockey skates is crucial for customizing the fit and support of the skates to your feet. Properly preparing the skates is the first step in the process, ensuring that they are clean and in good condition before placing them in the oven. In this section, we’ll cover the necessary steps to prepare your skates for the baking process.
REMOVE THE LACES AND INSOLES
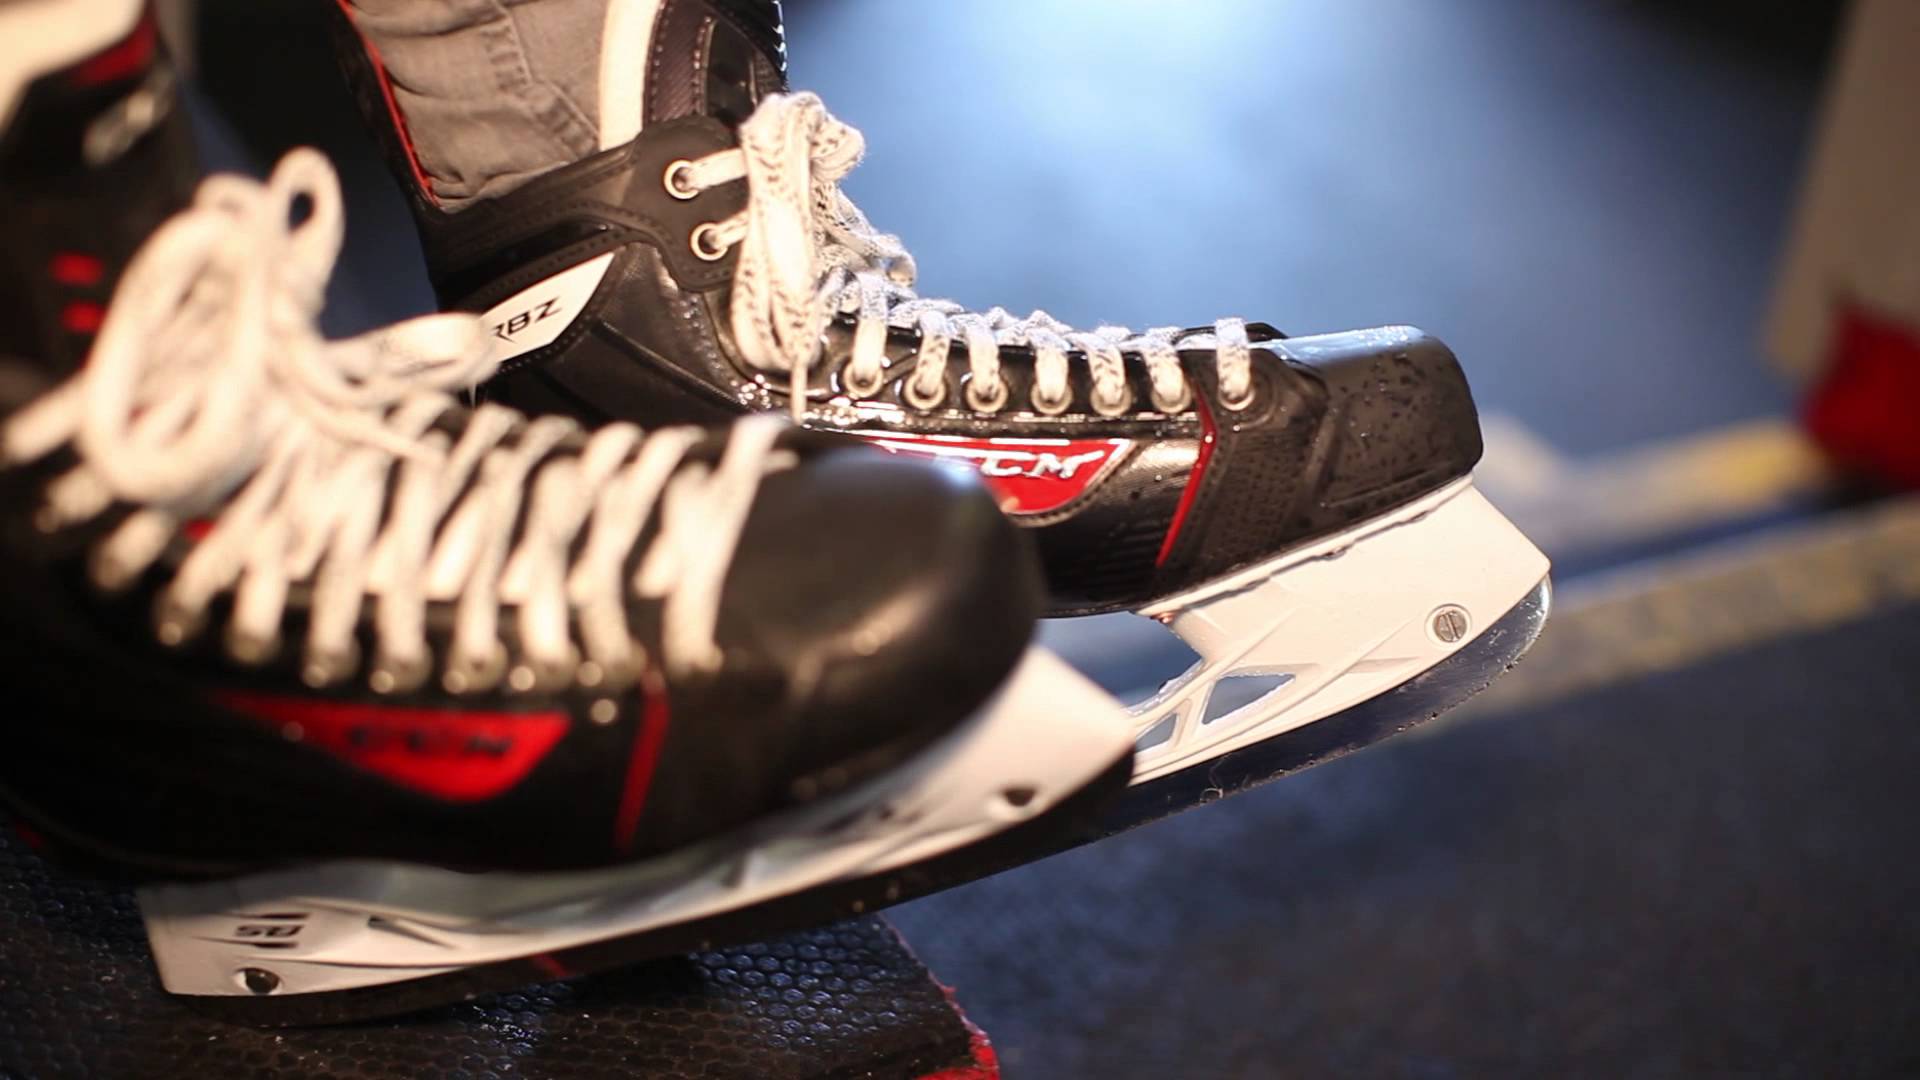
Before baking your ice hockey skates, it’s essential to remove the laces and insoles to prevent damage and ensure that the heat is evenly distributed throughout the boot. Start by loosening and then completely removing the laces from the skates. Next, carefully take out the insoles and set them aside. This step is vital in ensuring that the skates are properly heated and molded to your feet during the baking process.
CHECK FOR DAMAGE
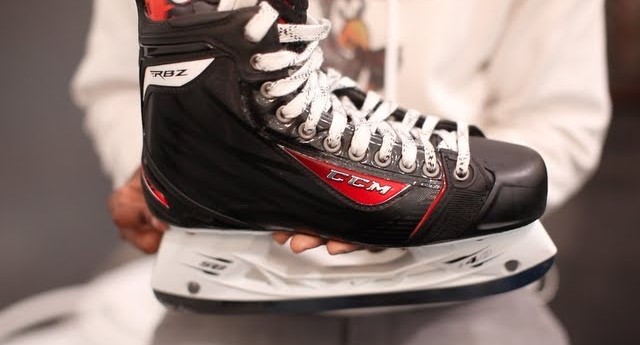
Prior to baking, it’s important to thoroughly inspect the skates for any signs of damage, such as cracks, tears, or excessive wear. Check the boot, blade, and other components for any visible issues that may affect the skates’ performance or integrity. If any damage is found, it is crucial to address it before proceeding with the baking process to ensure the skates retain their structural integrity and provide optimal support and protection on the ice.
BAKING PROCESS
To bake ice hockey skates, preheat your oven to a specific temperature and place the skates on a baking sheet. Leave the skates in the oven for a designated time, allowing the heat to mold them for a better fit and added comfort on the ice.
PREHEAT THE OVEN
Preheat your oven to the recommended temperature, usually around 175-185°F.
PLACE THE SKATES IN THE OVEN
While the oven is preheating, remove the insoles and place the skates carefully on the baking sheet lined with parchment paper.
Make sure each skate is equally spaced and not touching each other for even heat distribution.
Once the oven is ready, insert the baking sheet with the skates and set the timer for the specified duration, usually around 4-5 minutes.
After the skates are baked, remove them from the oven and put the insoles back in while the skates are still warm to mold them to your feet for a custom fit.
COOLING AND TESTING
Baking ice hockey skates helps personalize the fit, but cooling and testing are crucial steps in the process.
LET THE SKATES COOL
After the baking process, allow the skates to cool completely before trying them on to prevent injuries.
TEST THE FIT
Perform a series of tests to ensure the skates fit well and provide optimal performance on the ice.
FIT TESTING CHECKLIST
- Check for any pressure points or discomfort.
- Ensure the heel is secure without slippage.
- Test ankle support for stability.
- Perform a balance test to check the overall feel on the ice.
FINE-TUNING
When it comes to ice hockey, having the perfect pair of skates is crucial for optimal performance on the ice. After baking your ice hockey skates to achieve a customized fit, it’s time for the fine-tuning process. This step is essential to ensure that your skates provide the ultimate comfort and support. In this section, we will discuss how to re-lace the skates and make final adjustments for the perfect fit.
RE-LACE THE SKATES
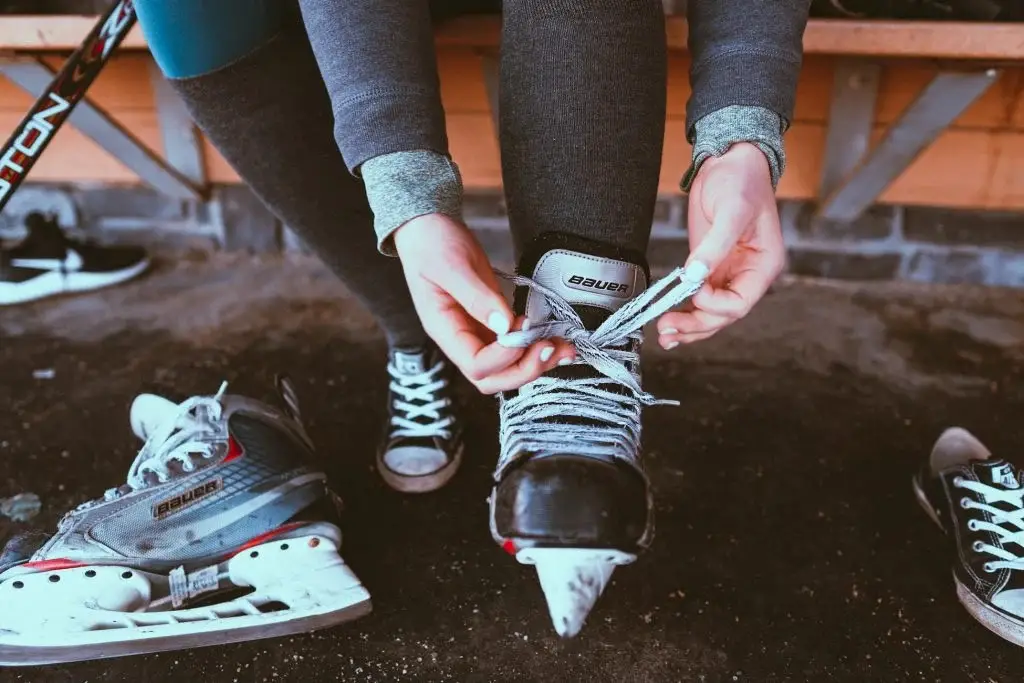
After baking your ice hockey skates, the laces may have loosened or become unevenly tightened. To achieve the best fit, you’ll need to re-lace your skates accordingly. Follow these steps to re-lace your skates:
- Remove the existing laces completely.
- Starting from the toes, thread the laces through each eyelet, ensuring the lace is pulled tight at each cross-section.
- Continue lacing up towards the ankle, maintaining an even tension.
- When you reach the top eyelets, double knot the laces to secure the fit.
MAKE FINAL ADJUSTMENTS
Once your skates are replaced, it’s time for the final adjustments to achieve a comfortable fit. Pay attention to the following areas and make necessary tweaks:
TONGUE POSITION
The tongue of your ice hockey skates should be centered and aligned with the top of your foot. Adjust the tongue accordingly by gently pulling it up or pushing it down to achieve the correct positioning.
HEEL LOCK
A proper heel lock is essential to prevent your foot from moving around inside the skate. Check if your heel is securely locked in place by standing up and shifting your weight from side to side. If you notice any slippage, tighten the laces around the ankle to achieve a snug fit.
ANKLE SUPPORT
Ankle support is crucial to prevent injuries and maintain stability on the ice. With your skates fully laced, flex your ankles forward and backward to ensure a comfortable range of motion. If you experience any discomfort or restrictions, loosen or tighten the laces around the ankle area accordingly.
TOENAIL SPACE
Don’t forget to check the space between your toes and the front of the skate. Ideally, you should have about a thumbnail’s width of space for optimal comfort and toe maneuverability. If there’s too much space, re-lace the bottom eyelets tighter. Conversely, if there’s too little space, loosen the laces around the toes.
By re-lacing your skates and making these final adjustments, you’ll fine-tune your ice hockey skates for a customized fit that enhances your performance on the ice. Remember, a well-fitted skate can make all the difference in your game, so take the time to ensure everything feels just right.
FREQUENTLY ASKED QUESTIONS FOR (HOW TO BAKE ICE HOCKEY SKATES)
HOW DO I BAKE ICE HOCKEY SKATES?
To bake ice hockey skates, preheat your oven, place the skates on a baking sheet, and heat at a temperature specified by the manufacturer.
IS IT NECESSARY TO BAKE NEW HOCKEY SKATES?
Baking new hockey skates is not necessary but highly recommended as it helps to mold the skates to your feet, providing a better fit and improved performance.
HOW LONG SHOULD I BAKE MY HOCKEY SKATES?
The baking time for hockey skates varies depending on the manufacturer’s instructions, typically ranging from 8 to 15 minutes. Always follow the specific guidelines provided with your skates.
CAN I BAKE MY OLD HOCKEY SKATES?
Baking old hockey skates might help to alleviate discomfort or reshape the boots, but you should check the manufacturer’s recommendations as high temperatures could potentially damage older skates.
CONCLUSION
Incorporate patience and precision when baking your ice hockey skates for the best results. Remember to follow the instructions carefully to ensure a perfect fit and enhanced performance on the ice. Embrace the process and enjoy the benefits of customized, comfortable skates to elevate your game.